GossenGossenGossenGossen
    0
  •   was successfully added to your cart.
  • SPECTRAL PHOTOMETRY
    • MAVOSPEC BASE
    • MAVOSPEC LITE
    • DOWNLOADS
      • PREVIOUS DEVICES
  • LIGHT MEASURING
    • MAVOMASTER
    • MAVOPAD
    • MAVOLUX
      • MAVOLUX 5032 B USB
      • MAVOLUX 5032 C USB
      • MAVOLUX 5032 C BASE
      • MAVOLUX COMPACT
    • MAVO SPOT 2 USB
    • MAVO-MONITOR USB
    • MAVOMAX 60 / RK1 RK2 RK5
    • DOWNLOADS
      • PREVIOUS DEVICES
  • PHOTOGRAPHY
    • DIGIPRO F2
    • SIXTOMAT F2
    • DIGIFLASH 2
    • DIGISIX 2
    • DOWNLOADS
      • PREVIOUS DEVICES
  • LIGHT LAB
  • COMPANY
    • ABOUT US
      • COMPANY PROFILE
      • HISTORY
      • IMPRINT
    • JOBS & CAREER
    • CERTIFICATES
    • REPAIR SERVICE
    • TRADE FAIRS AND EXHIBITIONS
    • FINDING US
    • TERMS OF DELIVERY AND GUARANTEE
    • CUSTOMER SATISFACTION AND COMPLAINTS
  • CONTACT
    • LIGHT MEASURING DEALERS
      • GERMANY
      • WORLDWIDE
    • PHOTOGRAPHY DEALERS
      • GERMANY
      • WORLDWIDE
  • BLOG
  • SHOP
    • MY ACCOUNT

PERFECTION
THROUGH CALIBRATION
Precision comes from experience, know-how and calibration at regular intervals.

Reliable Measured Values through Calibration at Regular Intervals

DIN EN ISO 9001:2015 stipulates test equipment monitoring, if such equipment is relevant for product quality or is used for the preparation of assessments. This test equipment must be calibrated at regular intervals and traced back to national standards.


TRACEABILITY AT THE GOSSEN LIGHT LAB

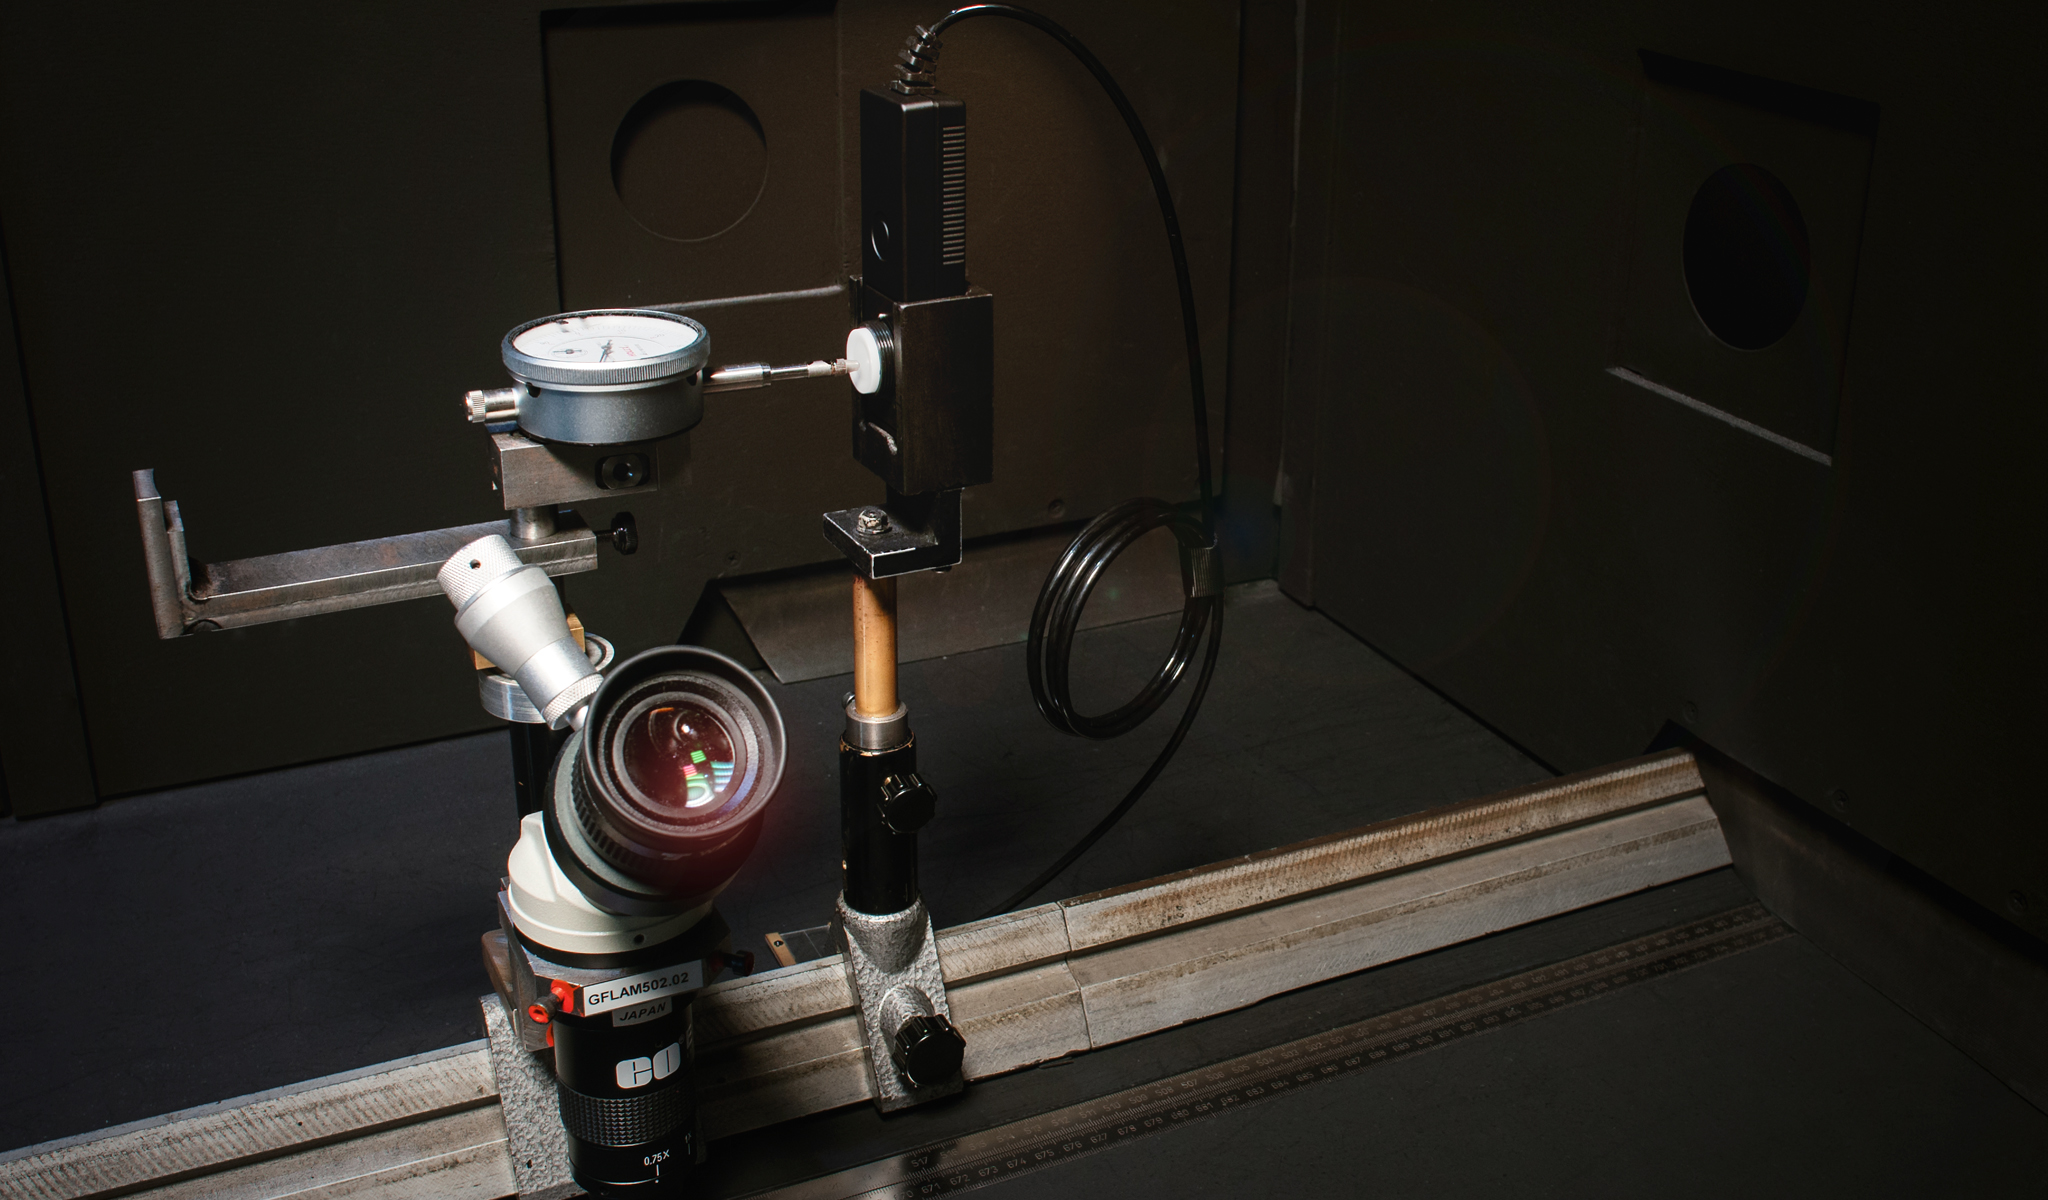
The GOSSEN Light Lab is equipped with two optical benches, whose traceability to the national standards maintained by the PTB (German Federal Institute of Physics and Metrology) is assured for illuminance by means of several Wi41/G standard lamps and for UV-A 365 nm irradiance by means of a reference measuring device. The lab is subject to test equipment monitoring in accordance with DIN EN ISO 9001:2015, and is additionally accredited for illuminance and irradiance UV-A 365 nm by DAkkS in accordance with DIN EN ISO/IEC 17025:2018 under registration number D-K-20315-01-00. And thus you can count on product quality, the competence of our employees, continuous external monitoring and international recog-nition of our calibration service.

MORE INFORMATION ON THE LIGHT LAB
CALIBRATION RANGES

CALIBRATION OF DEVICES FROM OTHER MANUFACTURERS

After determining that devices from other manufacturers are capable of being calibrated, we are pleased to issue either a DAkkS or a factory calibration certificate.  Devices from other manufacturers cannot be adjusted.


Reliable Measured Values through Calibration at Regular Intervals

DIN EN ISO 9001:2015 stipulates test equipment monitoring, if such equipment is relevant for product quality or is used for the preparation of assessments. This test equipment must be calibrated at regular intervals and traced back to national standards.
 

TRACEABILITY AT THE GOSSEN LIGHT LAB

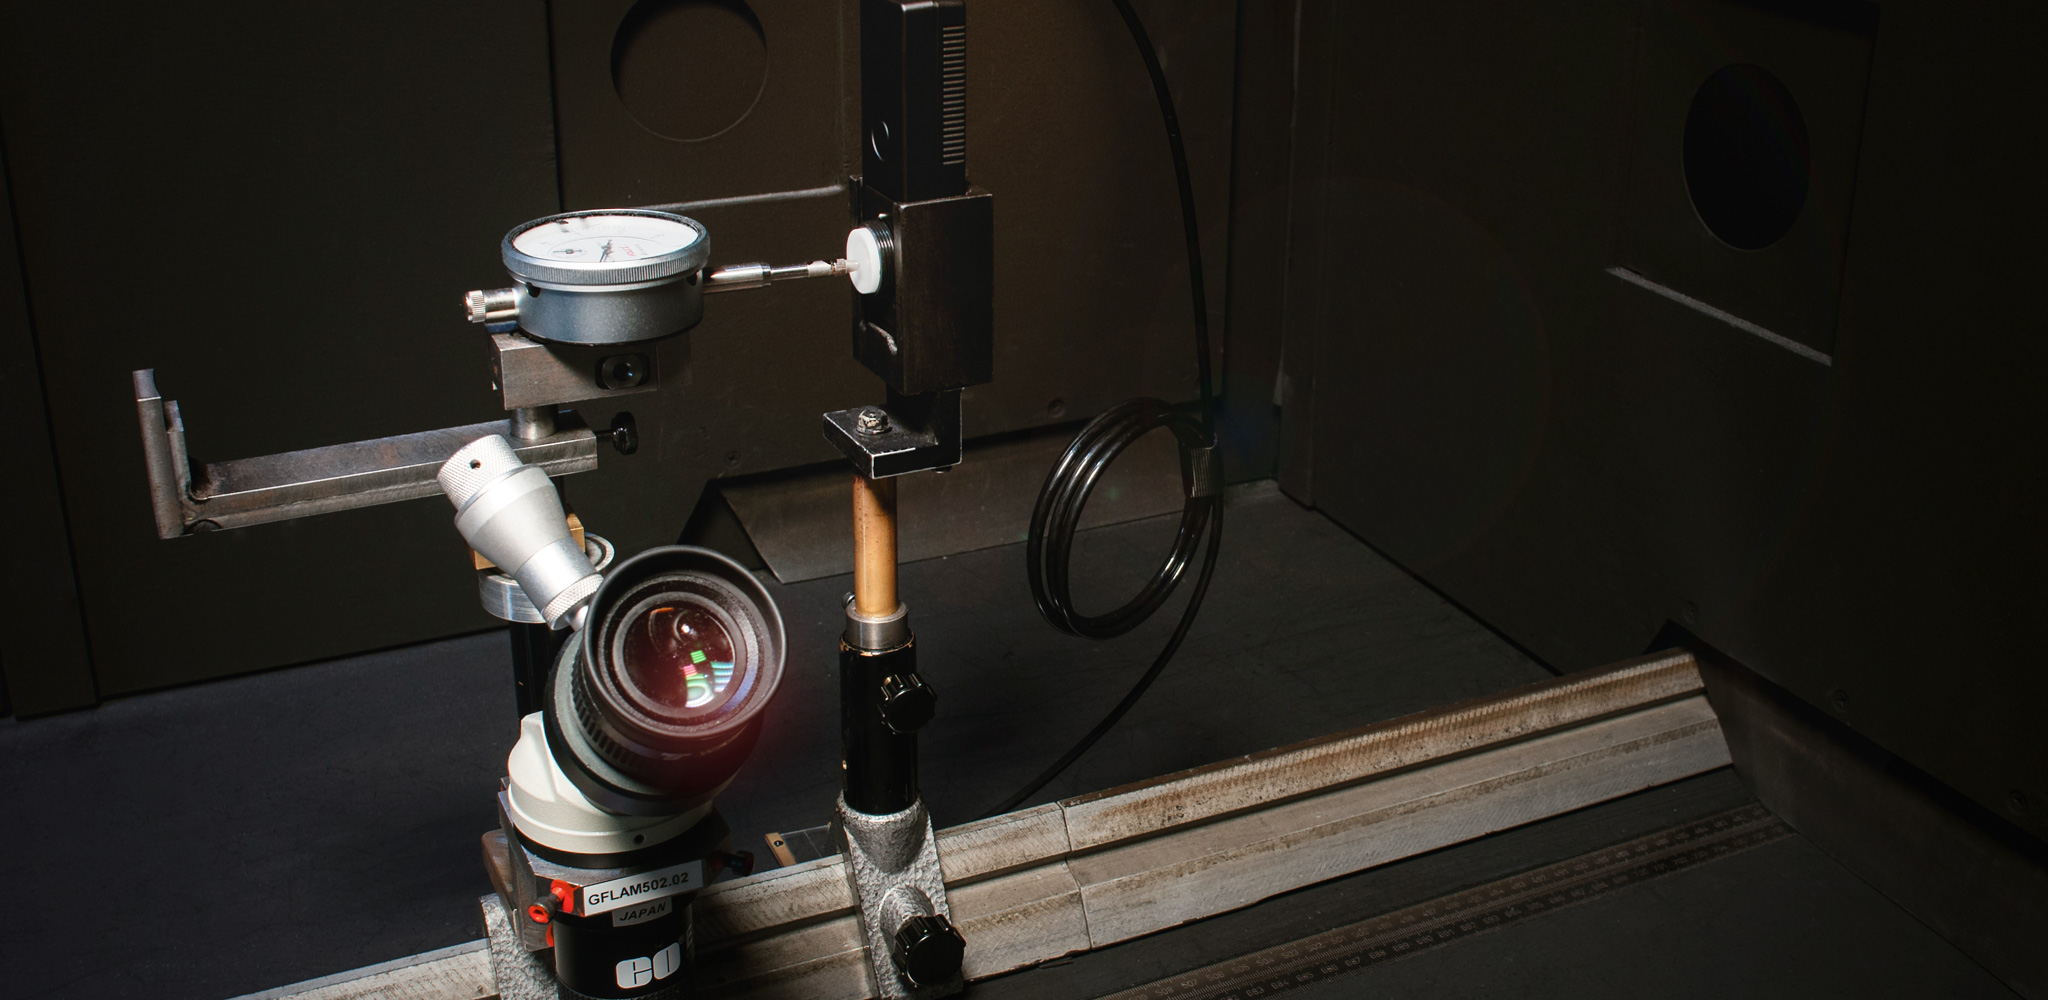
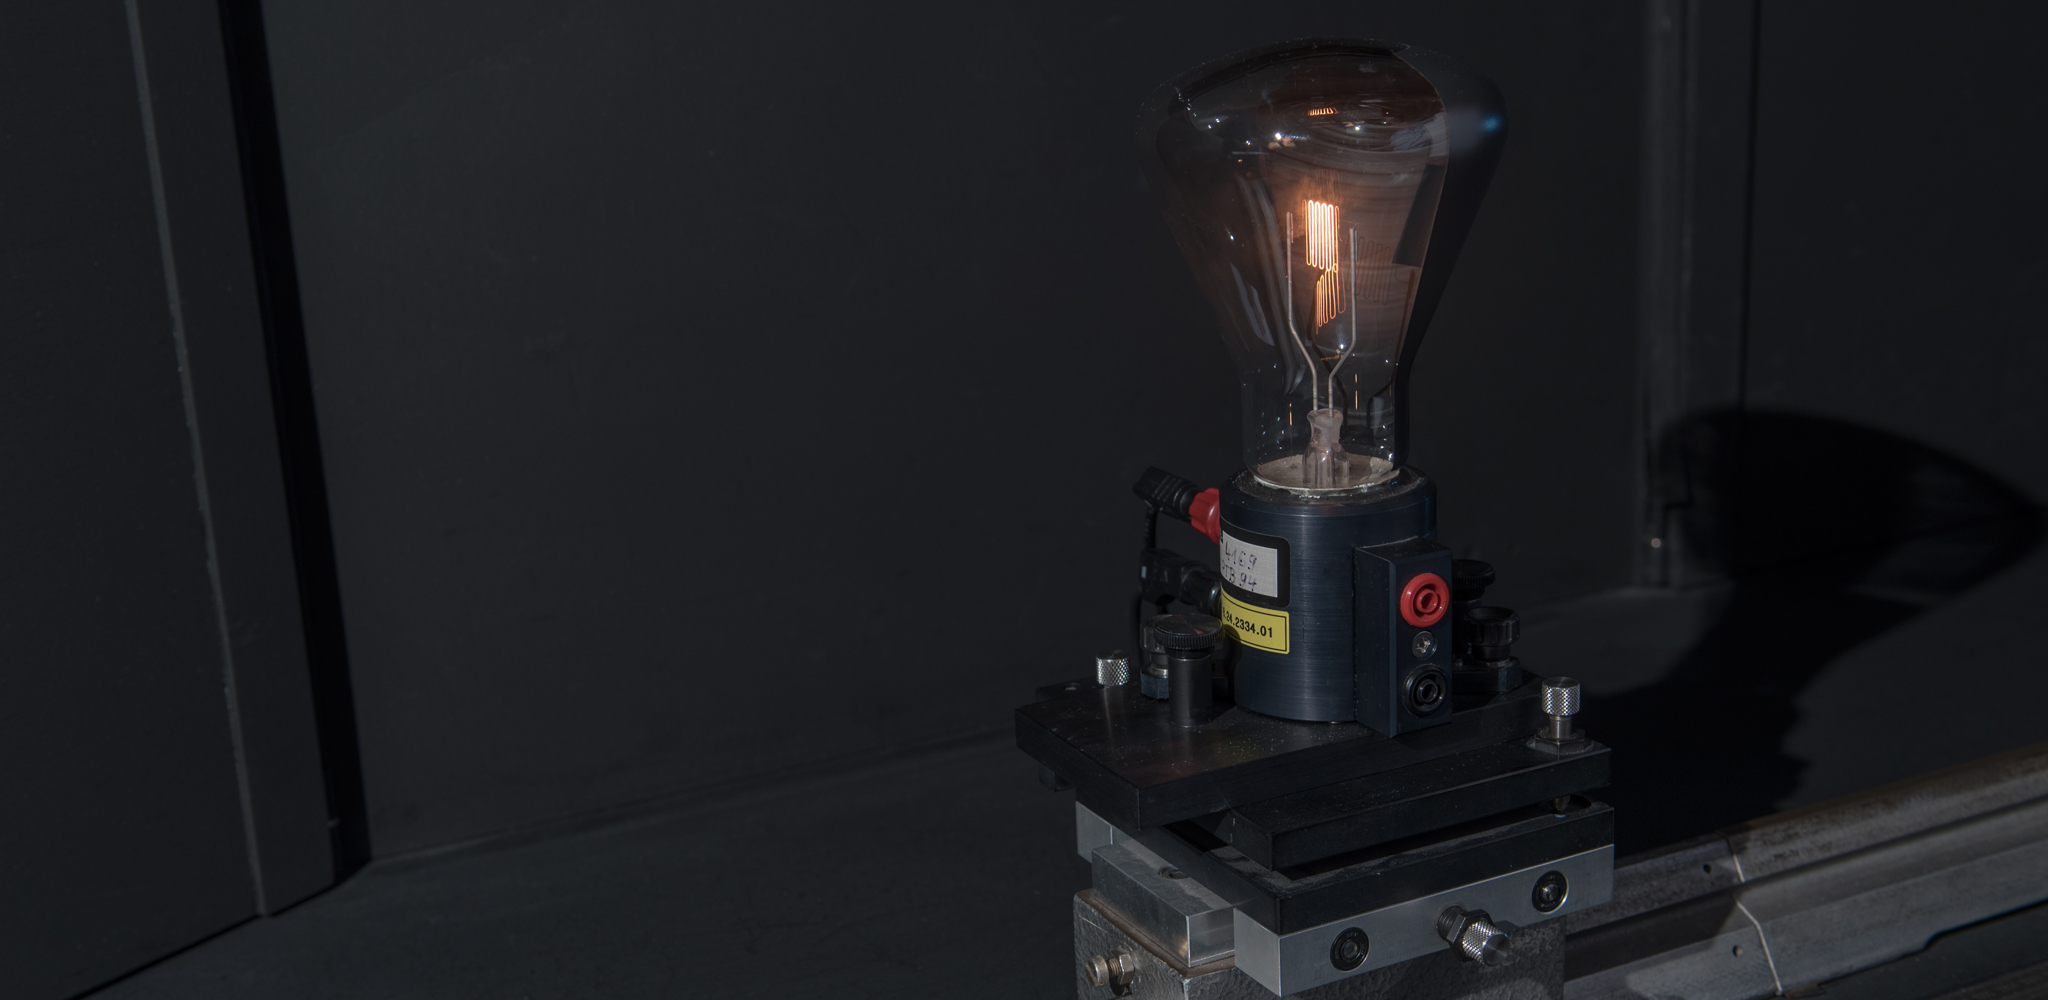
The GOSSEN Light Lab is equipped with two optical benches, whose traceability to the national standards maintained by the PTB (German Federal Institute of Physics and Metrology) is assured for illuminance by means of several Wi41/G standard lamps and for UV-A 365 nm irradiance by means of a reference measuring device. The lab is subject to test equipment monitoring in accordance with DIN EN ISO 9001:2015, and is additionally accredited for illuminance and irradiance UV-A 365 nm by DAkkS in accordance with DIN EN ISO/IEC 17025:2018 under registration number D-K-20315-01-00. And thus you can count on product quality, the competence of our employees, continuous external monitoring and international recog-nition of our calibration service.

MORE INFORMATION ON THE LIGHT LAB
CALIBRATION RANGES

CALIBRATION OF DEVICES FROM OTHER MANUFACTURERS

After determining that devices from other manufacturers are capable of being calibrated, we are pleased to issue either a DAkkS or a factory calibration certificate. If the device does not comply with at least class C, only factory calibration can be offered. Devices from other manufacturers cannot be adjusted.


Factory Calibration Certificates

The factory calibration certificate for illuminance can cover the range from 1 lx to 50,000 lx and additional measuring points in the range from 50,000 lx to 200,000 lx can be added for measuring devices of class C or better. The relative extended measuring uncertainty is up to 3%. The factory calibration certificate for luminance can cover the range from 0.5 cd/m² to 10,000 cd/m² and can be supplemented for measuring devices of class C or better by additional measuring points in the range from 10,000 cd/m² to 50,000 cd/m². The relative extended measuring uncertainty is up to 4%. The factory calibration certificate for irradiance UV-A 365 nm can cover the range from 100 µW/cm² to 10,000 µW/cm². The relative extended measuring uncertainty is up to 12%. The relative extended measuring uncertainty depends on the measured value and measuring device and is determined individually for each calibration value according to EA-4/02.

SAMPLE ILLUMINANCE
SAMPLE LUMINANCE
SAMPLE IRRADIANCE
SAMPLE SPECTRORADIOMETER

DAkkS Calibration Certificate

The DAkkS calibration certificate for illuminance can cover the range from 1.75 to 2000 lx. The relative expanded measuring uncertainty is up to 1.5%. The DAkkS calibration certificate for irradiance UV-A 365 nm can cover the range from 100 µW/cm² to 6,000 µW/cm². The relative extended measuring uncertainty is up to 10%. The relative extended measuring uncertainty depends on the measured value and measuring device and is determined individually for each calibration value according to EA-4/02.

DAkkS ACCREDITATION CERTIFICATE
DAkkS APPENDIX TO THE CERTIFICATE
SAMPLE ILLUMINANCE
SAMPLE IRRADIANCE
SAMPLE NDT / ZFP

Measuring Services

As an independent company, we measure the characteristics of products manufactured or operated by you and submit a corresponding test report. Our offerings include the measurement of spectra, color rendering index, chromaticity, correlated color temperature, flicker, transmission and reflection within the visual range. Just tell us what your requirements are and we’d be happy to provide you with an individualized quotation.

SAMPLE TEST REPORT

Factory Calibration Certificates

The factory calibration certificate for illuminance can cover the range from 1 lx to 50,000 lx and additional measuring points in the range from 50,000 lx to 200,000 lx can be added for measuring devices of class C or better. The relative extended measuring uncertainty is up to 3%. The factory calibration certificate for luminance can cover the range from 0.5 cd/m² to 10,000 cd/m² and can be supplemented for measuring devices of class C or better by additional measuring points in the range from 10,000 cd/m² to 50,000 cd/m². The relative extended measuring uncertainty is up to 4%. The factory calibration certificate for irradiance UV-A 365 nm can cover the range from 100 µW/cm² to 10,000 µW/cm². The relative extended measuring uncertainty is up to 12%. The relative extended measuring uncertainty depends on the measured value and measuring device and is determined individually for each calibration value according to EA-4/02.

SAMPLE ILLUMINANCE
SAMPLE LUMINANCE
SAMPLE IRRADIANCE
SAMPLE SPECTRORADIOMETER

DAkkS Calibration Certificate

The DAkkS calibration certificate for illuminance can cover the range from 1.75 to 2000 lx. The relative expanded measuring uncertainty is up to 1.5%. The DAkkS calibration certificate for irradiance UV-A 365 nm can cover the range from 100 µW/cm² to 6,000 µW/cm². The relative extended measuring uncertainty is up to 10%. The relative extended measuring uncertainty depends on the measured value and measuring device and is determined individually for each calibration value according to EA-4/02.

DAkkS ACCREDITATION CERTIFICATE
DAkkS APPENDIX TO THE CERTIFICATE
SAMPLE ILLLUMINANCE
SAMPLE IRRADIANCE
SAMPLE NDT / ZFP

Measuring Services

As an independent company, we measure the characteristics of products manufactured or operated by you and submit a corresponding test report. Our offerings include the measurement of spectra, color rendering index, chromaticity, correlated color temperature, flicker, transmission and reflection within the visual range. Just tell us what your requirements are and we’d be happy to provide you with an individualized quotation.

SAMPLE TEST REPORT

We look forward to your calibration order!

In order to assure that we can process your order as quickly as possible in accordance with your requirements, and to provide us with the name of a technical contact person at your company in the event that we have any further questions, we would ask you to complete the Calibration Service form and send it to us along with the device to be calibrated.

CALIBRATION SERVICE FORM

ORDER PROCESSING

Gudrun Zeller
Tel.: +49 911 800621 12
Fax: +49 911 800621 29
info@gossen-photo.de

TECHNICAL CONSULTING

Rafael Princiotto
Tel.: +49 911 800621 21
Fax: +49 911 800621 29
info@gossen-photo.de

GOSSEN Foto- und Lichtmesstechnik GmbH . Lina-Ammon-Str. 22 . 90471 Nürnberg
T +49 911 800621 0 . F +49 911 800621 29 . info@gossen-photo.de

© 2023 GOSSEN Foto- und Lichtmesstechnik GmbH
Imprint | Terms of Delivery and Guarantee | Data Policy
  • German
  • English
  • SPECTRAL PHOTOMETRY
    • MAVOSPEC BASE
    • MAVOSPEC LITE
    • DOWNLOADS
      • PREVIOUS DEVICES
  • LIGHT MEASURING
    • MAVOMASTER
    • MAVOPAD
    • MAVOLUX
      • MAVOLUX 5032 B USB
      • MAVOLUX 5032 C USB
      • MAVOLUX 5032 C BASE
      • MAVOLUX COMPACT
    • MAVO SPOT 2 USB
    • MAVO-MONITOR USB
    • MAVOMAX 60 / RK1 RK2 RK5
    • DOWNLOADS
      • PREVIOUS DEVICES
  • PHOTOGRAPHY
    • DIGIPRO F2
    • SIXTOMAT F2
    • DIGIFLASH 2
    • DIGISIX 2
    • DOWNLOADS
      • PREVIOUS DEVICES
  • LIGHT LAB
  • COMPANY
    • ABOUT US
      • COMPANY PROFILE
      • HISTORY
      • IMPRINT
    • JOBS & CAREER
    • CERTIFICATES
    • REPAIR SERVICE
    • TRADE FAIRS AND EXHIBITIONS
    • FINDING US
    • TERMS OF DELIVERY AND GUARANTEE
    • CUSTOMER SATISFACTION AND COMPLAINTS
  • CONTACT
    • LIGHT MEASURING DEALERS
      • GERMANY
      • WORLDWIDE
    • PHOTOGRAPHY DEALERS
      • GERMANY
      • WORLDWIDE
  • BLOG
  • SHOP
    • MY ACCOUNT
  • German
  • English
Gossen
    0 items