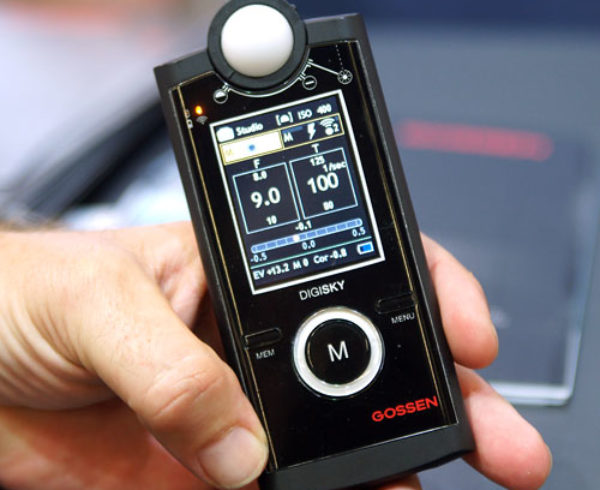
Congratulations, you’ve taken a step in the right direction and purchased a precision meter that will help you to perfect the exposure of your shots and eliminate the need for a lot of waste and time to finish your images. If the light meter does not initially provide the values you expect, we recommend that you read this entry and perform the calibration described below.
Incident Light Measurement – Reflected Light Measurement
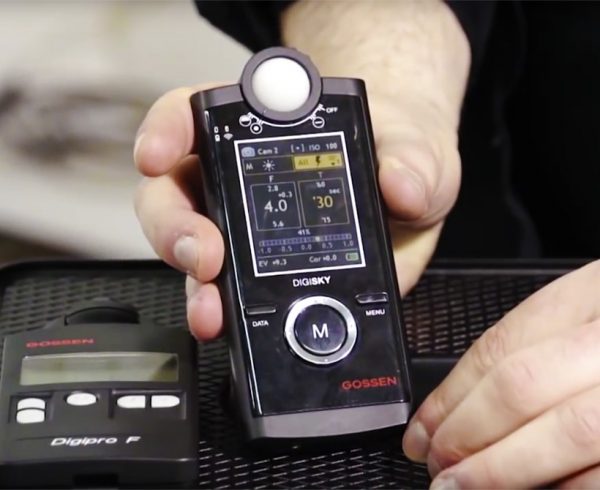
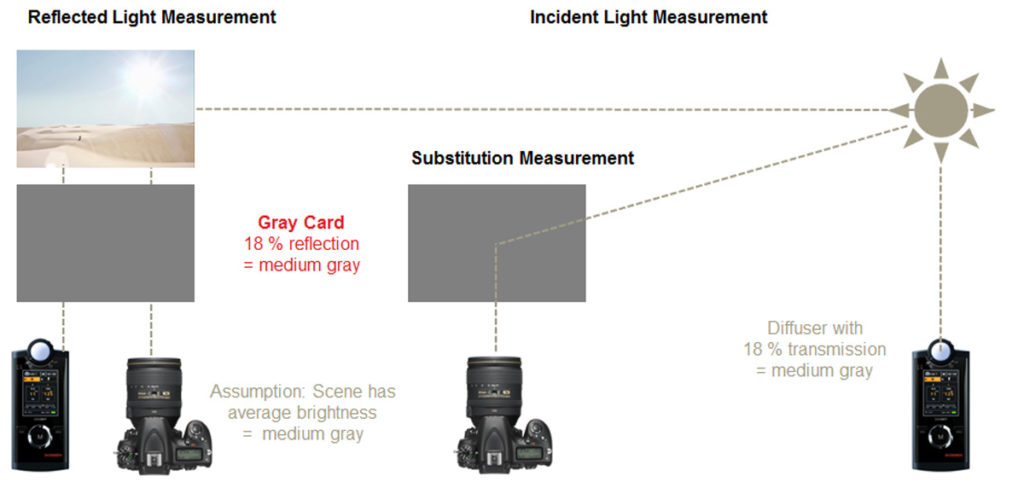
A big advantage of your external exposure meter is the incident light measurement which prevents object-related incorrect exposures. In contrast to the reflected light measurement of the camera-internal exposure meters which measure the light reflected by the object, the external exposure meter measures the light falling on the object. For this purpose, a hemispherical dome covering a spherical measuring angle of 180 ° with a light transmittance of 18% has been placed in front of the sensor. The exposure values are derived directly from the incident light, regardless of the object’s color, brightness and reflectance. In contrast, the reflected light measurement interprets the reflected light as medium gray with 18% reflectance.
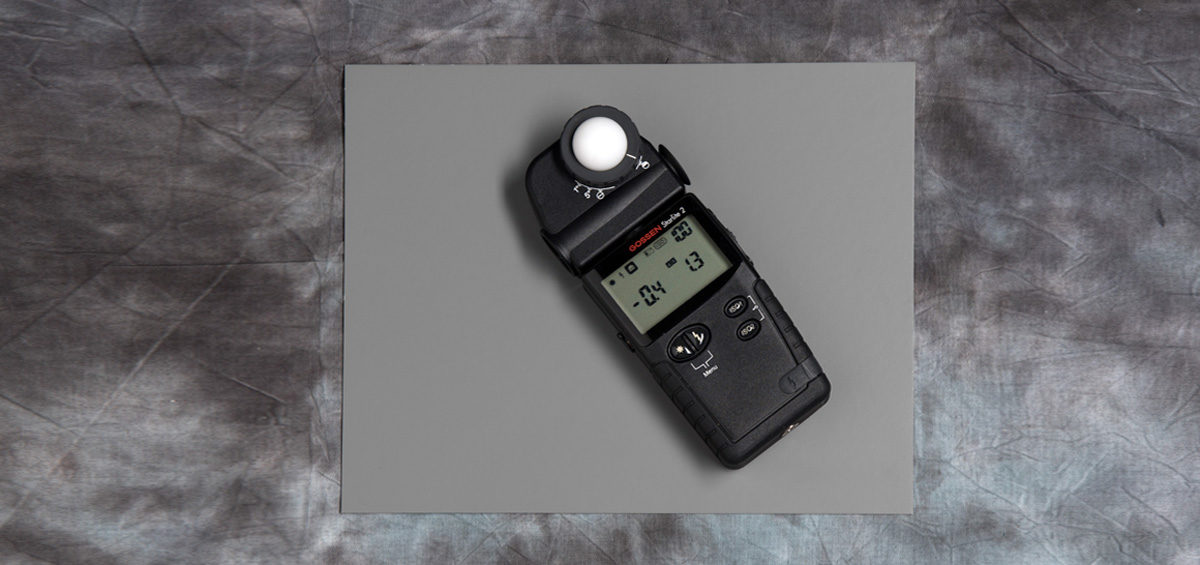
If a gray card with 18% reflectance is used as the reference object and if it is measured format filling in reflected light measurement mode, we obtain the same exposure values as in the incident light measurement mode. However, this substitution measurement methode is somewhat cumbersome and not always practical.
Once hold the light meter in front of the object / model and you have already determined an exact exposure time and aperture that is certainly right and provides a much easier starting point for image processing. The difference with the camera-internal exposure meter is clear when you open the images in the image editing software and viewed on a calibrated monitor. If you compare the recordings with the presentation on the camera-internal display, then you can experience some surprise.
Benefits are not available for free
The negative news is that these benefits are not for free and you may get worse results on the first use than with the camera’s light meter. This is due to the ISO specification of films or camera sensors, where each manufacturer has their own ideas of ISO 100 and which can also vary with different films or camera models of a manufacturer. Deviations from the nominal values are also possible with the shutter speeds of your camera and the apertures of your lenses. Another influence is the development of the film or the further processing of the RAW data. And finally, your subjective feeling comes into game when assessing the finished shot.
The positive news is that by simply calibrating your meter you can take into account the specific parameters of your equipment, your workflow and your subjective feelings and then take full advantage of the meter. Choose the camera, the lens and possibly the film you work with most and define this as the standard setup for all further calibrations.
Calibration Instructions
To calibrate your meter, we recommend the following method:
- Set the same ISO value, e.g. ISO 100, in the external exposure meter and the camera and make sure that all correction values are at 0.
- Switch the camera to manual mode and deactivate all functions that affect the exposure. These include e.g. ISO Automatic, Exposure Compensation, Active D-Lighting, HDR, Picture Control, etc.
- Select a subject that contains highlights, shadows, and midtones, and be careful not to change the lighting conditions between the measurement and the recordings.
- Set the incident light metering mode on the external meter, with the white cap placed in front of the sensor, or the position on the probe activated. At the motif level, you now measure in the direction of the incident main light and get a combination of time / aperture that should lead to an exact exposure under this illumination. Make sure that the aperture is between 4.0 and 8.0 in order to exclude vignetting of the lens when the lens is open, and to allow enough room for adjusting under- or overexposure. Exposure meters support this by the aperture selection mode, for the selected working aperture then the associated exposure time is determined.You will also find information about the direction of measurement which tells you towards the camera or on the bisecting line between the camera and the main light. If the light is strongly directed, the direction of measurement to the main light will tend to result in more dramatic illumination than that towards the camera. There is no right or wrong, you just have to try the different options, decide on one and then just stick to it.
- The aperture and shutter speed determined by the meter will be manually transferred to the camera and the first shot will be taken with these values. Now make a bracketing with under- or overexposure, in which you change the exposure value by 1/3, 1/2 or 1 step. It is recommended to use a tripod so that the image section remains constant. For digital cameras, the 1/3 step is standard and we recommend a series -1, -2/3, -1/3, 0, +1/3, +2/3, 1. For analog cameras are usually only a 1/2 or 1 step possible and often 5 shots are sufficient for the correction, so at 1/2 step a series of -1, -1/2, 0, +1/2, +1. For analogue photography, you can use slide film. Make a note of which recording was taken with which correction. The bracketing function of your camera can help you with this series of tests.
- With the digital camera, the images can be assessed directly. Download it to a computer with a calibrated monitor because this is the only way to ensure that you are correctly assessing the images. Open the image series with an image editor and find the image that you think is perfectly exposed. Determine with which correction value this was made.
For analog cameras, let the film develop, place the filmstrip on a light panel and pick out the shot that you think is perfectly exposed. Check your notes and see which correction value has been applied. - Save the determined correction value in the light meter. It is now adapted to the specific parameters of your equipment, your workflow and your subjective perception and provides precise exposure data for optimal recording results of the tested combination, which can be transferred to the camera 1: 1 without any doubt.
You can convince yourself by continuing to take pictures of different subjects and to reassess them on the computer or after development on the light box.
Correctly noticed, the calculated correction value applies to the tested camera – lens (- film) combination. To be sure, you should repeat the test for your different lenses to see if there are any other correction factors required. The same applies when changing the film material or post processing methode.
You will probably say that this is all a lot of work and we can only agree with you. Do the job and you will get to know the characteristics of your equipment, and in the end you will be rewarded with functional equipment that will save you a lot of time and nerves in the long run for reworking the images than you are now investing once.
It’s worth it anyway!

